February 3, 2026
.webp)
How to Care for Indoor Plants A Beginner's Guide
Learn how to care for indoor plants with our guide on watering, light, and soil. Get practical tips to help your houseplants thrive in any Australian home.
Career Development
minutes
When it comes to keeping your indoor plants happy, it really just boils down to a few key things: giving them the right amount of light, watering only when the soil feels dry, and making sure their pots have good drainage. If you can nail these basics, you’re already avoiding the most common mistakes that trip up new plant parents.
Starting Your Indoor Jungle Without the Guesswork

So, you’ve decided to bring some green into your home. Welcome! This is your no-nonsense guide to keeping those plants alive and looking fantastic. We’re going to skip the vague advice and get straight to what actually works, especially for those of us in Australia where the conditions can swing from a sunny Brisbane apartment to a cosy Melbourne townhouse.
This guide is designed to tackle the biggest reason plants fail—either too much attention or not enough. Think of this as the ultimate cheat sheet to becoming a confident plant parent.
The Biggest Mistake New Plant Owners Make
We’ve all been there. You bring home a new plant, and the urge to fuss over it constantly is almost overwhelming. But honestly, that’s often the fastest way to kill it. With Aussies spending about 90% of their time indoors, it’s no wonder we want to create a green sanctuary.
The problem is, our good intentions can backfire. A recent study showed that Australians admitted to killing at least 72 million plants in a single year, with about one in five new plants ending up in the bin. And the number one culprit? Too much 'love' in the form of overwatering.
This guide is here to help you break that cycle. It's all about building good habits and learning to read what your plants actually need, not just what you think they need.
What You Will Learn in This Guide
Our goal is simple: to give you the confidence to not just keep your plants alive, but to help them truly flourish. We'll walk through the essentials of plant care in a practical, step-by-step way.
Light and Water: Get the hang of reading your home’s light and your plant's thirst cues.
Soil and Nutrients: Discover why the right soil mix is the foundation for healthy roots.
Humidity and Temperature: Learn how to create a comfy microclimate for your tropical friends.
Troubleshooting: We'll turn you into a plant detective, ready to tackle common issues like pests and yellowing leaves.
By the end of this guide, you'll have a solid framework for plant care. You'll understand the core principles that separate a flourishing indoor oasis from a sad, wilting collection of pots.
If you're after a quick rundown, this 7-step indoor plant care guide is a great place to start. For now, let’s dive in and build that foundational knowledge to set you up for success.
Decoding Your Home's Light and Water Needs
Light and water are the two biggest hurdles for any new plant owner. Get these right, and you've honestly won half the battle. Let's ditch the confusing jargon and get practical about what your plants actually need inside a typical Australian home.
This is all about observing your own space and learning to read your plant's signals, not just blindly following a rigid schedule. Once you nail these fundamentals, you’ll start to develop a bit of an intuition for it all, making plant care feel less like a chore and more like a rewarding partnership.
Understanding Your Home's Unique Light Signature
That little tag saying "bright, indirect light" is famously vague, isn't it? What it means in a Perth home getting smashed by the afternoon sun is completely different to a south-facing Melbourne apartment. Let's break it down properly.
Think of light in two ways: how long it lasts and how strong it is. The direction your windows face is the single biggest clue.
North-Facing Windows: In Australia, these are the jackpot. They get the most consistent, bright, indirect light all day long. This is prime real estate for plants that love light but not scorching heat, like a Fiddle Leaf Fig or a Bird of Paradise.
East-Facing Windows: Perfect for that lovely, gentle morning sun that won’t fry your plants. It's an ideal spot for anyone who enjoys bright light but is a bit sensitive to intense heat—think Calatheas or most ferns.
West-Facing Windows: Proceed with caution here! These windows get blasted with intense, hot afternoon sun, especially in summer. This kind of light will easily burn the leaves of many popular houseplants. You’ll probably need to pull plants back a metre or two from the glass or filter the light with a sheer curtain.
South-Facing Windows: This is your lowest-light spot in the house. It's the designated home for the true low-light champions, like the ever-reliable Snake Plant or a Zanzibar Gem (ZZ Plant).
If you want to get a real feel for your home’s light, try the "shadow test." At different times of the day, hold your hand up about a metre from a window. A sharp, well-defined shadow means you've got direct light. A soft, fuzzy-edged shadow indicates indirect light. And if you can barely make out a shadow at all, that's low light. Mapping this out gives you a clear guide on where specific plants will truly thrive.
Key Takeaway: Stop trying to move the plant to the light you wish you had. Instead, start matching the right plant to the light you’ve actually got. Understanding your home’s natural light patterns is the very first step.
Mastering the Art of Watering
If there's one mistake that sends more plants to an early grave than any other, it’s overwatering. Sticking to a strict weekly watering schedule is a recipe for disaster. A plant's thirst changes with the seasons, how much light it's getting, and even the type of pot it’s in.
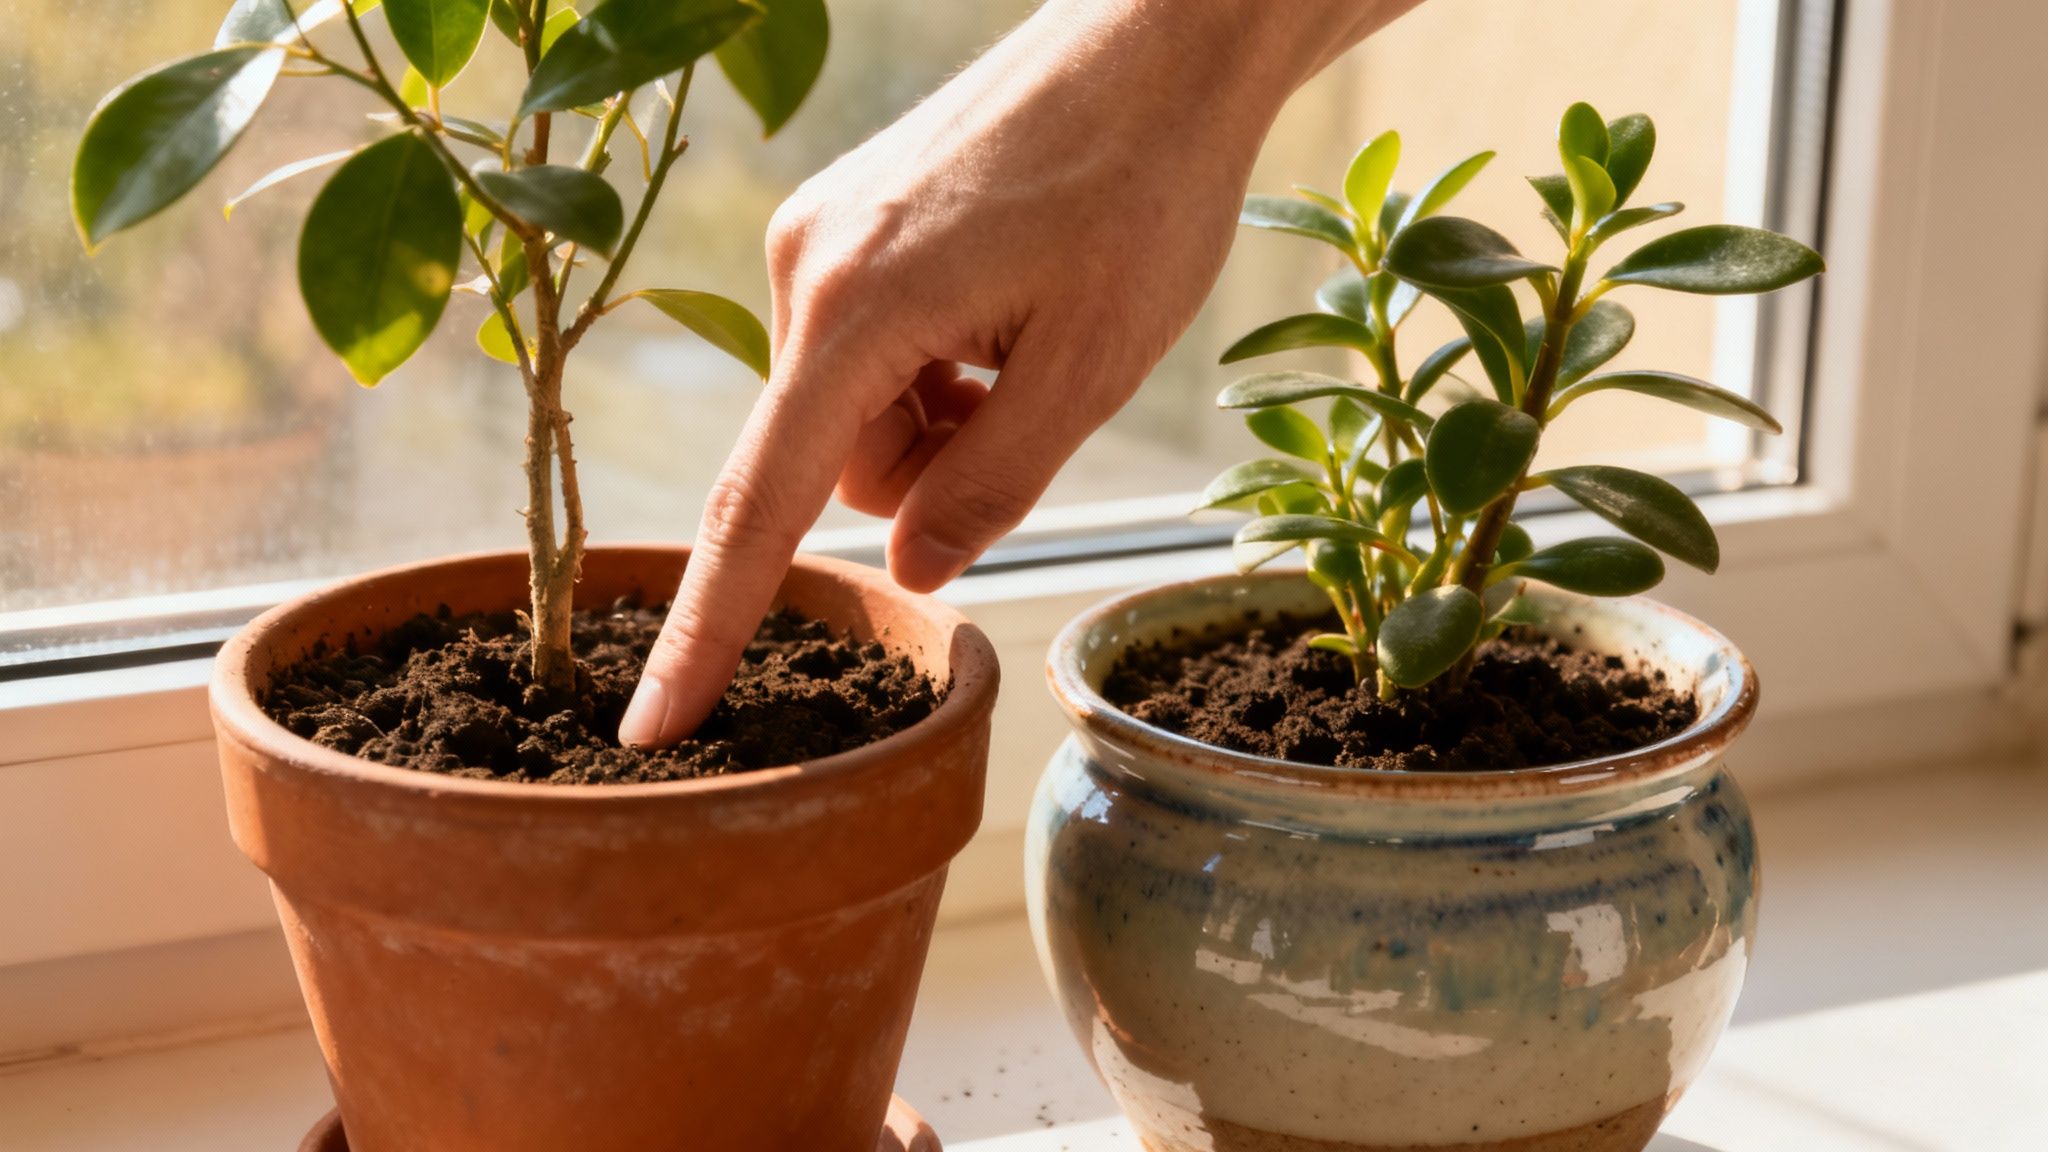
The single most reliable method for checking if a plant is thirsty is the good old ‘finger test’.
It’s ridiculously simple: just stick your index finger about 2-5 centimetres deep into the soil. If it feels dry at your fingertip, it’s time for a drink. If you feel any moisture at all, hold off for a few more days and check again. This simple act prevents the soil from staying constantly soggy, which is what suffocates the roots and leads to the dreaded root rot.
When you do water, do it properly. Take the plant to a sink or into the shower and give it a thorough soak until water streams out of the drainage holes. This ensures the entire root ball gets hydrated, not just the top layer. Then—and this is critical—let it drain completely before putting it back in its decorative pot. No plant wants to sit in a puddle.
Real-World Watering Scenarios
Developing a feel for watering means recognising how different factors change how quickly the soil dries out. It's not just about the plant; its whole environment plays a massive role.
Consider these common situations:
On top of that, a big, established plant in a small pot will drink water much faster than a tiny plant in an oversized pot. And naturally, your plants will need way more water during their active growing season in spring and summer, and much less when they're dormant in the cooler, darker months of winter. By keeping an eye on these variables, you'll learn to anticipate your plants' needs like a pro.
Building a Strong Foundation with Soil and Nutrients
While we all obsess over beautiful leaves and vibrant flowers, the real magic of a healthy plant is happening below the surface. A plant’s root system is its engine room, and the soil it lives in is the fuel. Getting this foundation right is non-negotiable for long-term health and is often the secret behind those incredibly lush plants you see online.
Think of soil as more than just dirt; it's a complex home for your plant's roots. It needs to provide support, retain just enough moisture, and allow for plenty of airflow. This is where many generic, all-purpose potting mixes fall short.
Why Your Potting Mix Matters
That standard bag of potting mix from the local hardware store might seem like an easy choice, but it’s often far too dense for many popular houseplants. Most common indoor plants—like Monsteras, Philodendrons, and Fiddle Leaf Figs—are native to environments where their roots aren't packed into heavy, wet soil.
Dense soil holds onto water for too long, which can starve roots of oxygen and create the perfect storm for root rot. The solution is simple: create a chunkier, more breathable mix. You can easily level up a standard potting mix by adding a few key ingredients.
Perlite: These small, white volcanic glass balls are incredibly lightweight and create air pockets in the soil, boosting drainage and aeration.
Orchid Bark: Chunky pieces of bark create larger air gaps, mimicking the airy environments many tropical plants grow in naturally.
Coir Peat (Coco Coir): A sustainable alternative to peat moss, it helps retain moisture without becoming overly compacted.
A simple recipe for a better aroid mix is one part standard potting mix, one part perlite, and one part orchid bark. This blend provides the structure, drainage, and moisture retention that helps roots thrive. Customising soil is a key skill, and for those wanting to dive deeper, a formal Certificate in Horticulture can provide a fantastic, structured learning path.
Knowing When to Repot Your Plant
Repotting can feel a bit daunting, but it’s a necessary step to give your plants fresh nutrients and more room to grow. Don’t rush into it, though; most plants are quite happy being a little snug in their pots.
Look for these clear signs that it's time for an upgrade:
Roots are poking out of the drainage holes at the bottom of the pot.
The plant is becoming top-heavy and keeps tipping over.
Water runs straight through the pot without soaking in, a sure sign it's "root-bound."
Growth has stalled significantly during the growing season (spring and summer).
When you do repot, choose a new pot that is only 2-5 cm wider in diameter than the current one. Going too big can lead to the soil staying wet for far too long, seriously increasing the risk of root rot. Gently tease out the old roots, place the plant in its new home, and fill the surrounding space with your fresh, well-draining soil mix.
Demystifying Fertiliser for Indoor Plants
Fertiliser is simply plant food, providing the essential nutrients that potting mix alone can't supply over the long term. Understanding it doesn’t have to be complicated. Most fertilisers display three numbers on the label, which is known as the N-P-K ratio.
N (Nitrogen): Promotes lush, green leaf growth.
P (Phosphorus): Supports strong root development and flowering.
K (Potassium): Boosts overall plant health and disease resistance.
For most leafy houseplants, a balanced liquid fertiliser or one slightly higher in nitrogen is a great choice. Australian plant owners have shown a clear preference for mindful feeding habits. A recent survey revealed that 40% of plant enthusiasts fertilise monthly, which is a great rhythm for steady growth. To ensure your indoor plants receive the best nourishment, it's worth exploring their specific indoor plant fertilization needs as some species have unique requirements.
The key to feeding is timing. You should only fertilise your plants during their active growing period, which in Australia is typically from spring through summer. As growth naturally slows down in autumn and winter, you should reduce or stop feeding altogether. This allows your plants a natural period of rest, prevents fertiliser burn, and respects the plant's seasonal cycle.
Creating the Right Environment with Humidity and Temperature
Let’s be honest, many of our favourite houseplants are drama queens when it comes to the Aussie home environment. Most of them started life in a lush, tropical rainforest, so it’s no wonder they find our climate-controlled living rooms a bit on the dry side.
Figuring out how to care for indoor plants often comes down to recreating that humid, jungle-like vibe. But don't worry, this doesn't mean turning your home into a sweltering greenhouse. It's all about making a few smart, simple adjustments.
Most homes in Australia hover around 40-50% humidity. Your Calatheas and ferns, however, are dreaming of something closer to 60% or more. This humidity gap is the number one culprit behind those frustrating crispy brown leaf tips and a general failure to thrive. The good news is, closing that gap is much easier than you’d think.
Simple Hacks to Boost Humidity
You don't need to rush out and buy an expensive humidifier to see a real difference. In my experience, some of the most effective methods are also the simplest ones, focusing on creating a little pocket of moisture right where your plants need it most.
A classic, tried-and-true technique is the pebble tray. Just grab a shallow tray, fill it with pebbles, and add water until it sits just below the top of the stones. Pop your plant pot on top, and that's it. As the water evaporates, it creates a gentle cloud of humidity right around the plant’s foliage. Easy.
Another brilliant strategy is simply grouping your plants.
By clustering several plants together, you create a humid microclimate. As each plant releases moisture through its leaves—a process called transpiration—they collectively raise the humidity in their immediate area, benefiting the entire group.
It’s a fantastic, zero-effort way to keep your humidity-loving plants happy. For anyone looking to create bigger, more complex green installations, understanding how these microclimates work is fundamental. In fact, these exact environmental control concepts are just scaled up in professional setups, which you can explore in courses like a Certificate in Vertical Farming.
Managing Indoor Temperatures
Temperature stability is just as critical as humidity. Most of our indoor plants are perfectly happy in the same temperature range we are—somewhere between 18°C and 24°C. The catch is, they are far more sensitive to sudden changes and drafts than we are.
Take a look around your home and think about where your plants are sitting in relation to your heating and cooling systems.
Avoid Direct Heat: A plant sitting right under a heating vent or next to a radiator is a recipe for disaster. That constant blast of hot, dry air will scorch its leaves and dehydrate it in no time.
Beware of Cold Drafts: On the flip side, a spot next to a drafty window in winter or in the direct path of an air conditioner can send a plant into shock, often leading to sudden and dramatic leaf drop.
The key here is consistency. A plant that lives in a stable temperature, even if it’s a bit on the cooler side, will do much better than one that’s constantly being hit with hot and cold blasts. Before you decide on a permanent home for a new plant, spend a day observing that spot. Feel for drafts and think about how that area is affected when your heater or air con kicks in. A few moments of observation can save you—and your plant—a world of stress.
Diagnosing and Solving Common Plant Problems
Even with the greenest of thumbs, you'll eventually come across a yellowing leaf, a droopy stem, or a suspicious-looking bug. Don't think of these moments as failures. Think of them as your plant trying to have a chat with you.
Learning to read these signals is the key to fixing problems before they get out of hand, and it's a huge part of becoming a confident plant parent. Consider this section your emergency first-aid kit. We’ll turn you into a plant detective, covering the common clues your plants give, identifying the usual Aussie pests, and tackling dreaded diseases.
Reading the Leaves: What Your Plant is Trying to Tell You
A plant's leaves are its dashboard, flashing clear warning signs when something isn’t right. Instead of panicking when you see a sad-looking leaf, take a closer look at the symptoms. Each one points to a different potential problem.
Here are some of the most common visual cues and what they usually mean:
Yellowing Leaves (Chlorosis): This is often the trickiest one to diagnose. If it’s the lower, older leaves turning yellow and the soil is always damp, overwatering is the prime suspect. But if the soil is bone dry and the yellowing is more widespread, you could be looking at underwatering or even a nutrient deficiency.
Crispy Brown Tips: This is almost always a cry for more moisture in the air. It’s a classic sign of low humidity, a super common issue in Australian homes, especially when the air conditioning or heating is blasting.
Sudden Leaf Drop: Has your plant dramatically dropped a bunch of healthy-looking leaves all at once? It's probably in shock from a sudden change. This could be a cold draught, a direct hit from a heater, or even the stress of being moved to a new spot.
Sad, Drooping Leaves (Wilting): The most obvious cause is thirst, or underwatering. Confusingly, it can also be a symptom of severe root rot from overwatering, as the damaged roots can no longer suck up water to support the leaves. The first step is always to stick your finger in the soil and check the moisture level.
Tackling Common Aussie Pests
Finding pests on your beloved plants is disheartening, but most infestations are totally manageable if you catch them early. The key is to act fast and be persistent. Wiping down leaves with a damp cloth is a great first step, but for a more targeted approach, you need to know who you’re dealing with.
Let's look at a few common intruders in our homes:
Pro Tip: Consistency is your best weapon against pests. A single treatment is rarely enough. Plan to re-treat your plant every week for at least three to four weeks to catch any newly hatched generations and stop them in their tracks.
Preventing and Treating Dreaded Diseases
While pests attack from the outside, diseases often start from within—usually at the roots. The most common and feared problem for any indoor plant owner is undoubtedly root rot.
Root rot is a fungal disease that kicks in when soil stays waterlogged for too long. This suffocates the roots and creates the perfect environment for nasty pathogens to take over. The signs above ground are often wilting and yellowing leaves, which can easily be mistaken for underwatering. This sometimes leads well-meaning owners to water even more, making the problem much worse.
If you suspect root rot, you have to act decisively.
Carefully slide the plant out of its pot and take a look at the roots. Healthy roots are usually firm and white or light-coloured. Rotted roots will be dark brown or black, mushy to the touch, and might even have a foul smell.
To treat it, grab some clean, sharp scissors and trim away all the affected mushy roots. Repot the plant into a fresh, well-draining potting mix and a clean pot (a new one is even better). Afterwards, you need to adjust your care routine immediately. This means watering less often and making sure the plant gets the right amount of light to help it recover. When it comes to root rot, prevention by mastering your watering technique is always the best cure.
Styling, Propagating, and Taking Your Plant Game to the Next Level

Once your plants are healthy and happy, you can move beyond just keeping them alive and dive into the truly creative side of plant ownership. This is where the real fun begins. You’ll learn how to transform your collection into a stunning feature of your home’s decor and master one of the most rewarding skills in the hobby: propagation.
Styling is so much more than just plonking a pot on a shelf. It’s the art of creating visual interest, texture, and balance. Think about how different heights, leaf shapes, and pot colours can work together to turn a simple green corner into something dynamic and intentional.
For those looking to turn this passion into a profession, a Certificate in Indoor Plant Styling can give you the structured knowledge needed to design breathtaking interior green spaces.
Creating Gorgeous Plant Arrangements
A brilliant and easy way to start is by using the classic design principle of "thriller, filler, and spiller." It’s a simple formula: group three plants together where one is a tall, dramatic "thriller" (like a Snake Plant), one is a bushy "filler" (a Peace Lily is perfect), and one cascades down as a "spiller" (like Devil's Ivy).
Another great trick is to play with repetition. Using pots of a similar style or colour scheme can tie your whole collection together, creating a cohesive, polished look even with a diverse range of plants.
This isn't just about aesthetics, either. Research consistently shows that having plants indoors significantly improves air quality—a huge benefit when you consider we spend around 90% of our time inside. Want to know more? The full Greener Spaces Better Places report reveals how just five plants can slash airborne toxins by 75%.
The Magic of Making New Plants
Propagation is the wonderful process of creating new plants from the ones you already own, and it's much easier than you might think. For beginners, the simplest method is taking a stem cutting and rooting it in water.
Here’s how you do it:
Find a healthy stem: Look for a strong, healthy stem on a parent plant that’s easy to propagate, like a Pothos or Philodendron.
Make the cut: With a clean pair of scissors, snip off a piece of the stem. Make sure your cutting has at least one or two leaves and a node—that’s the little bump where leaves and roots grow from.
Pop it in water: Place the cutting in a jar of water, making sure the node is submerged but the leaves stay dry.
Wait for roots: Put the jar somewhere with bright, indirect light and be patient. Roots will start sprouting from the node, which can take a few weeks. Just remember to change the water weekly to keep it fresh.
Once the new roots are a few centimetres long, your baby plant is ready for its own pot of soil. It’s an incredibly rewarding process that lets you multiply your favourite plants for free, expand your collection, and share the plant love with friends.
Your Top Indoor Plant Questions Answered
Even the most experienced plant parents get stumped sometimes. Let's tackle some of the most common questions and sticky situations, giving you clear, practical answers to help you care for your indoor plants with a bit more confidence.
Am I Overwatering Or Underwatering?
This is the big one, isn't it? The most reliable way to know for sure is the good old finger test. Just stick your finger about 2-5 cm into the soil. If it feels bone dry, it’s definitely time for a drink. If you feel any dampness at all, give it a few more days.
Always remember, overwatering is the far greater danger. It’s the fast track to yellowing leaves, a mushy stem, and the dreaded root rot. Underwatering, on the other hand, usually just results in some wilting, drooping, or leaves with crispy brown edges. When in doubt, it’s always safer to underwater. A thirsty plant is much easier to revive than a drowned one.
What Are The Easiest Plants For Beginners In Australia?
If you're just starting your indoor jungle, you’ll want to pick some plants that are a bit more forgiving. The best choices for Aussie conditions are the famously resilient ones that can handle a bit of neglect and a range of environments.
Snake Plant (Sansevieria): This one practically thrives on neglect. It handles low light like an absolute champion and isn't fussy about watering.
Zanzibar Gem (ZZ Plant): Talk about indestructible. The ZZ plant is a set-and-forget hero that needs very infrequent watering.
Devil's Ivy (Pothos): A classic for a reason. This fast-growing vine is great because it gives you a clear sign when it’s thirsty—the leaves will start to droop slightly.
These guys are perfect for building your skills because they bounce back so well from common mistakes, letting you learn without the heartbreak.
The real secret to success is choosing a plant that genuinely suits your home's environment and your lifestyle. Don't try to force a high-maintenance tropical beauty to survive in a spot it's just not built for.
Do I Need To Adjust My Care For Australian Winters?
Yes, absolutely. This is a non-negotiable. Most of our indoor plants slow right down during the cooler, darker months, entering a sort of dormancy. Their growth stalls, which means they need significantly less from you.
The first step is to cut back on watering. The soil will take much longer to dry out in winter, so your usual schedule will lead to waterlogged roots. It's also crucial to stop fertilising completely. Don't even think about feeding them until you see definite signs of new growth in spring. And a final tip: move your plants away from cold draughts from windows and doors, and keep them clear of direct blasts from heaters.
At Prac Skills, we offer practical, career-focused online courses designed to help you turn your passion for plants into a real-world profession. If you're ready to build your confidence and skills, explore our Certificate in Indoor Plant Styling.